The first step is to choose a picture. For this instance, dashboard's new album picture will be the workspace. Black and white pictures are easiest and best to use, but color pictures can be converted to black and white by using a picture editor and changing the color mode to grayscale.
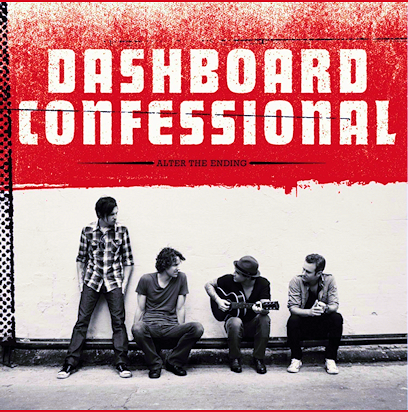
The next step is to choose the area of the picture you want to work with. Grid off the area in equal blocks that you see fit for the picture. They will be used to help judge size and to help scale the picture.In this picture I used red ink to outline my grid so it's more visible. Usually it's a good idea to use light pencil marks instead.

Then you pick a size for the picture to be. The size you want to work on is generally up 2 you, but to prevent distortion, try to keep the ratio of width and height the same. If you don't, then it's going to be on your own artistic insight to conceptualize the spacing (Which is what I did for the dashboard picture, and used the grid to help with sizing and spacing relative to each other). Once you have the width you start drawing the outlines of images and of some shade boundaries, but the picture should mostly be blank.

The rest of the steps will follow in weeks to come.

No comments:
Post a Comment